Follow these free motion quilting hacks to help you master free motion quilting. I share the techniques and suggestions that have helped me achieve success. What does one need to get started? Can something be saved for a later date?

What do you Need to get Started?
- a sewing machine that lets you lower or cover the feed dogs
- a darning foot
- Aurifil brand 100% cotton thread (found in better quilting stores)
What can you Put Off for later?
In my experience, these things that can be left for later. It is a personal choice. I saw quilting gloves mentioned as a necessary item to begin free motion quilting. I personally have never used these.They may be helpful for someone. But they don’t seem esseential to begin.
Many quilters like myself are draw to charming stipple quilting. On the one hand, stipple quilting is lovely and adds a lot to your quilt. On the other hand, it draws attention to the quilting. For this reason, it isn’t the best for a beginner. Leave stipple quilting until later when you are more skilled. I use another technique that works better for quilters new to free motion quilting. See hack 3.
Free Motion Quilting Hack -1
A darning foot is also necessary. If your machine didn’t come with one, they are easy to obtain. Buy one for your brand machine.

Free Motion Quilting Hacks-2
The best thread to use is Aurifil brand thread 50 weight 100% cotton. It comes in a lot of colors. However, it is generally only available in better quilting stores. At first, a spool can seem expensive. However, the thread is very thin. There is a lot of thread on each spool. I once pieced and quilted a complete double size bed using only one spool of this thread. This thread is highly recommended for free motion quilting. It truly will make or break your work. In the beginning, choose a thread color that matches the background. The threads blend in. Irregular lengths of stitches won’t show as much.

Free Motion Quilting Hacks-3
My preferred method of free motion quilting is to use the fabric layering technique. In the beginning,I was able to practice with satisfactory skills. As a result, I continued practicing. Therefore, leading to the mastery of the skill. My machine is a 20 year old Lily Husquarna. It is not a special machine,just a regular sewing machine.
To be honest, before I learned this technique, I was ready to give up on learning free motion quilting. I was not having any success. Therefore,I was very frustrated. In short, it is very forgiving as one develops their skill.

How to do the Fabric Layering Technique
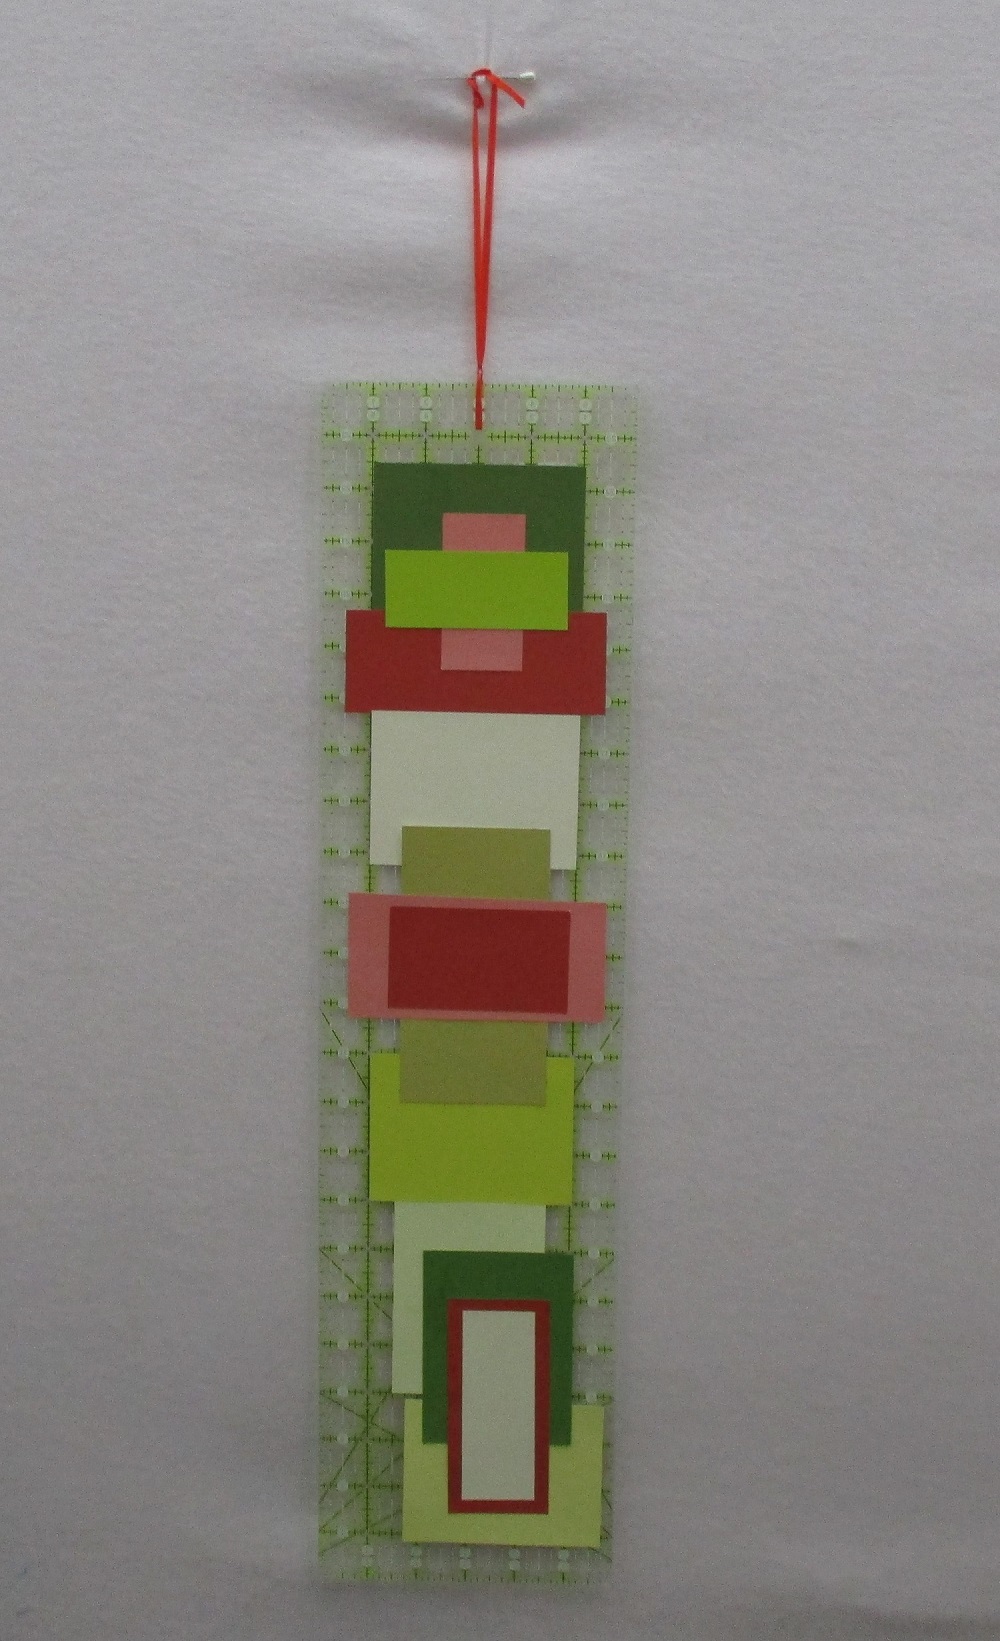
Basically the fabric layering technique starts on a table. To begin, lay the backing fabric down. Start with a smaller size like 12″-14″ about 30 cm square. Then put the batting on top. Similarly, cover the batting with a background fabric that enhances your scene.Then create a scene with fabric. A landscape is an easy way to start. Cut out pieces of fabric for your scene ie. trees and rocks. Then lay the pieces on the background fabric. Continue until you have made a pleasant scene. Place a tiny dab of glue from a glue stick to keep pieces in place while quilting. Cover with tulle netting. Free motion quilt.
Free motion quilting allows the quilter to control the movement of the quilt. In order to do this, the quilter must lower the feed dogs on their sewing machine. The feed dogs are on the flat part of the machine. They control the movement of the fabric. Most newer machines have this feature. Mine is twenty years old and it does. If you are unable to lower your feed dogs, cover them. However, I am unfamiliar with this.

Fast Feet Slow Hands
While free motion quilting you should say to yourself, fast feet slow hands. What does this mean? The throttle makes the machine go fast. Your foot usually controlls the trottle. Push the throttle fast but evenly. At the same time, your hands should be moving slowly. Pull the sides of the quilt taut while quilting. Practice moving them at the same rate at an even pace.
Checking your Stitches
In the beginning, quilt following the outline of the tree or main object in the scene. Check your stitches by looking on the back of the quilt. Loose or lengthy stitches mean the hands are being moved too quickly. Those stitches need to be taken out.As you get better you can create free form grasses or branches or movement with the sewing threads. Read more about this technique. https://annbaldwinmayartquilts.com/2017/07/fabric-layering-technique/

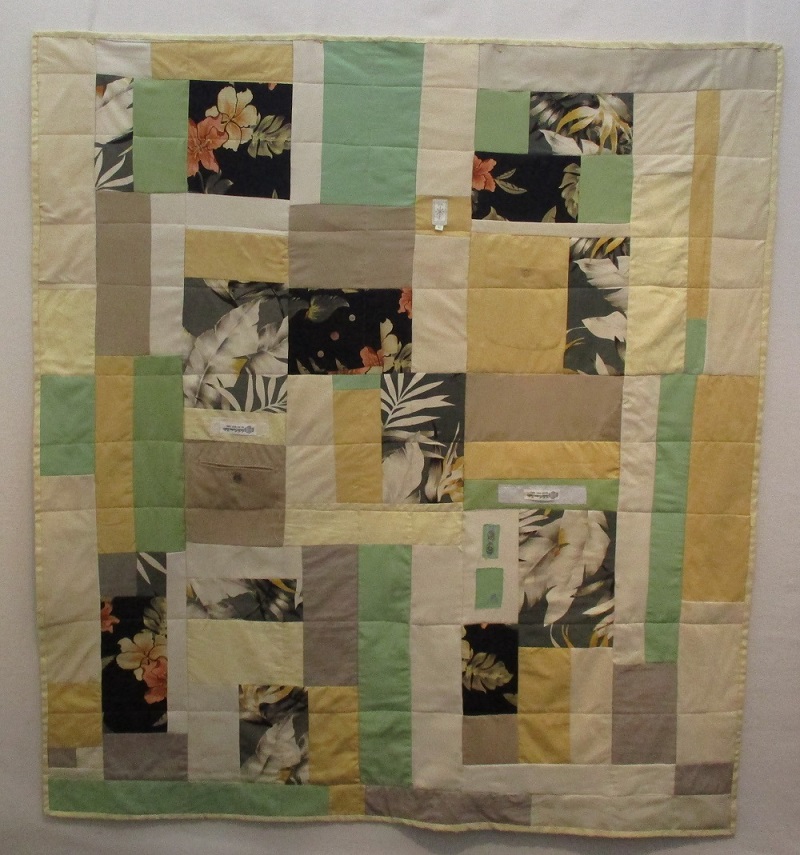
Another example of the fabric layering technique.
In Conclusion
Free motion quilting is another tool to add to your quilting tool box. Yet, there is no easy fix for mastery this technique. Put in the time to practice,you will be rewarded with a higher level of skill. Use the suggestions here to make your path more successful quicker and less frustrating.
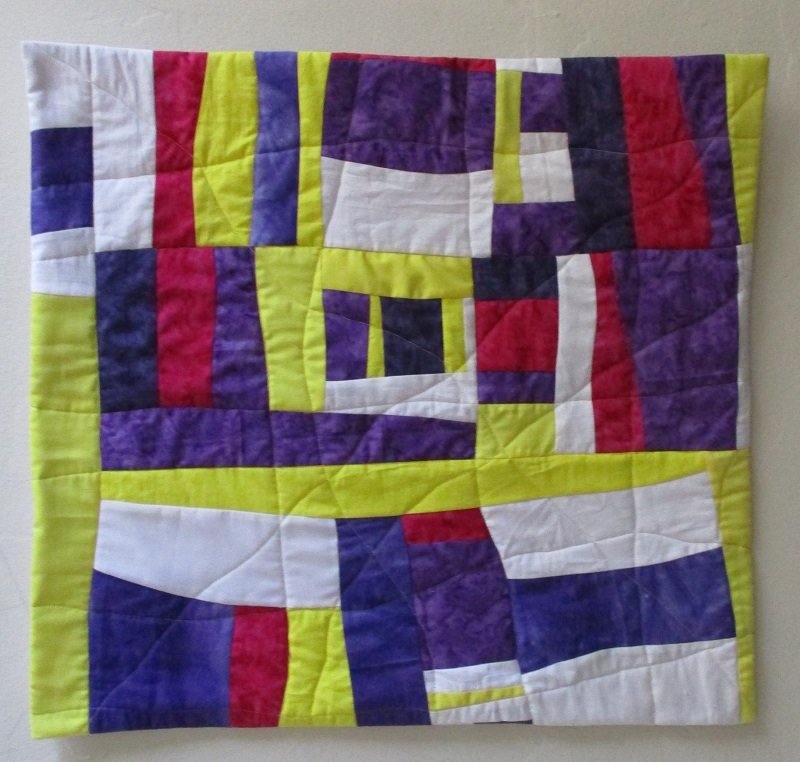
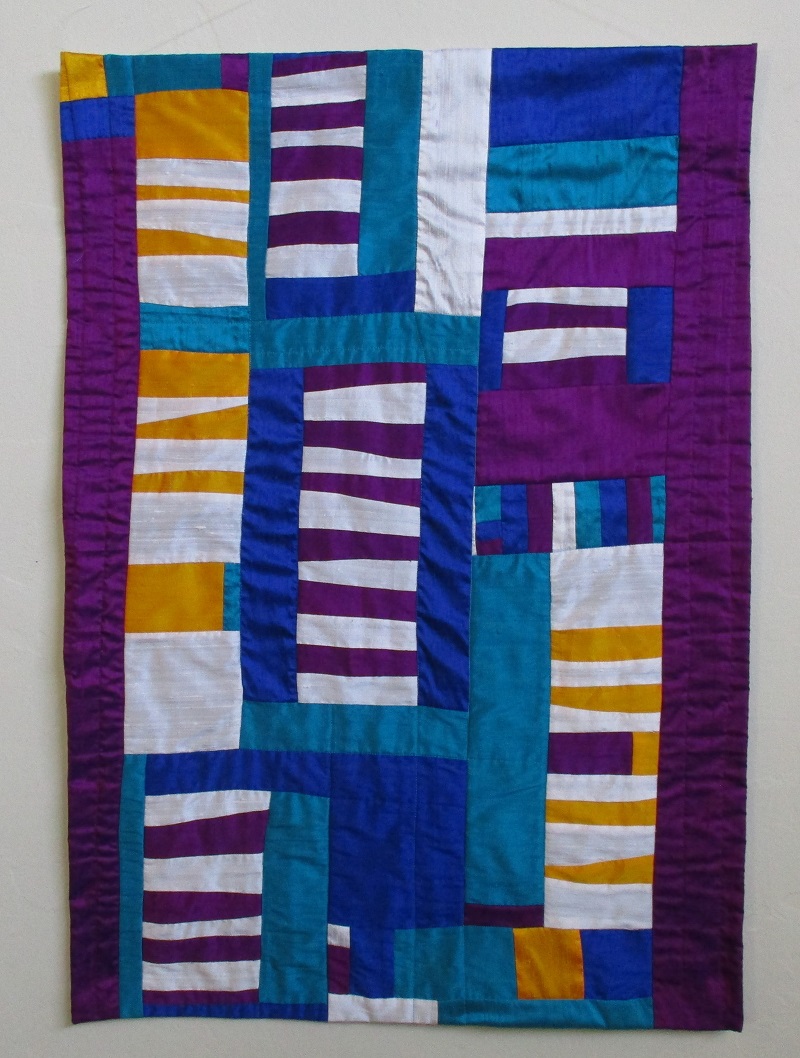
View more Art Quilts
View some art quilts I made using the fabric layering technique and free motion quilting.
https://annbaldwinmayartquilts.com/2021/01/trees-in-art-quilts/
https://annbaldwinmayartquilts.com/2017/07/fabric-layering-technique/
https://annbaldwinmayartquilts.com/2021/04/birds-in-art-quilts/
https://annbaldwinmayartquilts.com/2021/04/marine-life-in-art-quilts/
https://annbaldwinmayartquilts.com/2019/08/new-york-art-center-in-tribeca/


 Then, CALIFORNIA SOJOURN – JERRIE COGDON